
If you’ve ever spent hours rolling, cutting, and baking sugar cookies only to watch them puff up and lose their crisp edges, you’re not alone. Getting those perfectly defined shapes — whether hearts, stars, or snowflakes — can be tricky. But with the right dough, chilling technique, and baking tricks, your cut-out sugar cookies will stay picture-perfect every single time.
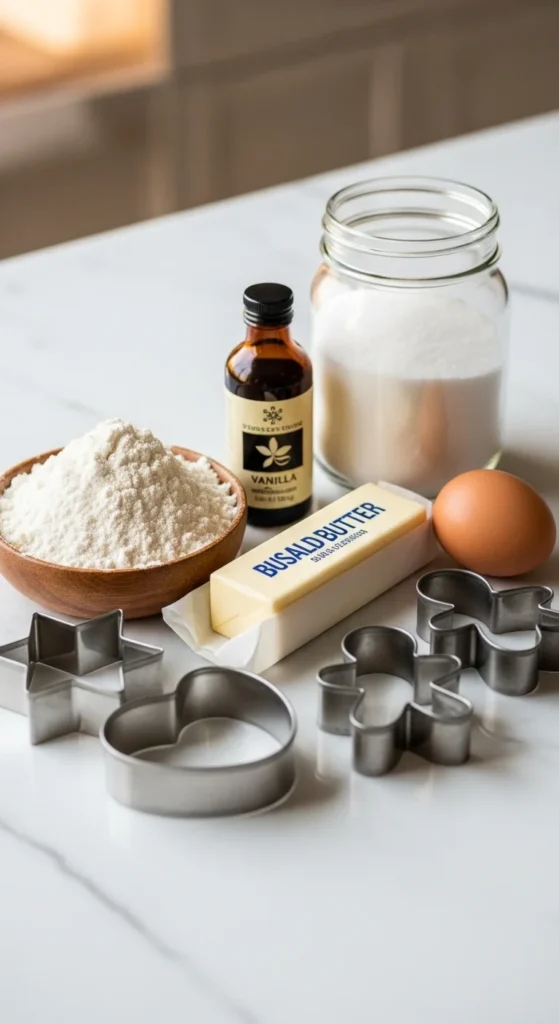
Step 1: Gather the Right Ingredients
The secret to cookies that hold their shape starts with balance — enough butter for flavor, but not too much to cause spreading. Here’s what you’ll need:
- 1 cup (2 sticks) unsalted butter, softened
- 1 cup granulated sugar
- 1 large egg
- 1 teaspoon vanilla extract (or almond extract for a bakery-style twist)
- 2½ cups all-purpose flour
- ½ teaspoon baking powder
- ½ teaspoon salt
Pro tip: Skip the baking soda — it makes cookies puff up and lose shape.
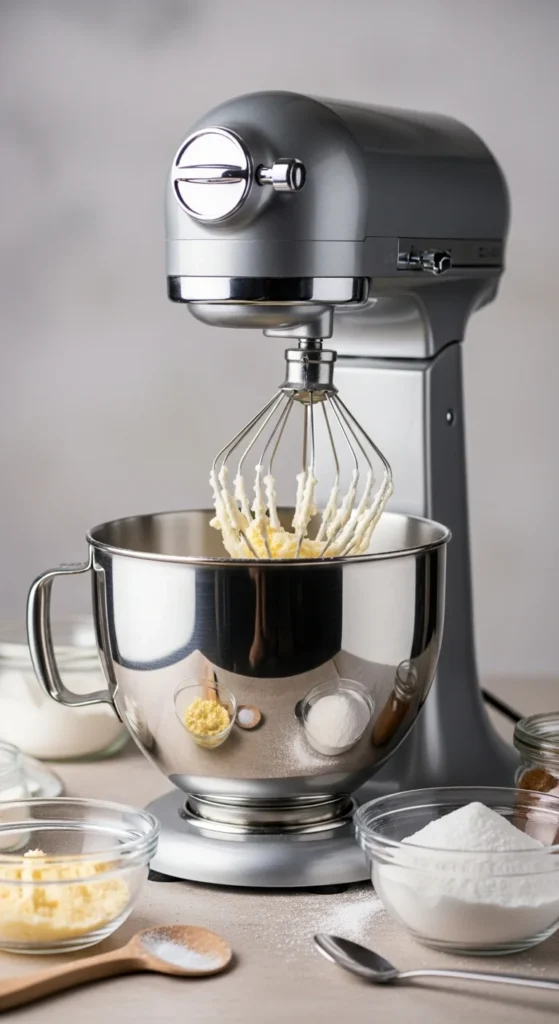
Step 2: Mix the Dough Gently
Cream the butter and sugar together until smooth and fluffy. Add the egg and vanilla extract, mixing just until combined.
In a separate bowl, whisk the flour, baking powder, and salt. Gradually add the dry ingredients to the wet mixture until a soft dough forms.
Avoid overmixing. Overworked dough warms up quickly and makes cookies spread. If the dough feels sticky, sprinkle a little flour — but don’t overdo it!
Step 3: Chill, Chill, Chill
This step makes all the difference. Divide the dough into two disks, wrap them in plastic wrap, and chill for at least 1 hour (or overnight).
Why it matters:
- Chilled dough is easier to roll.
- It prevents the butter from melting too quickly in the oven.
- It keeps cookie edges sharp.
If you’re short on time, pop the dough in the freezer for 20–25 minutes instead.
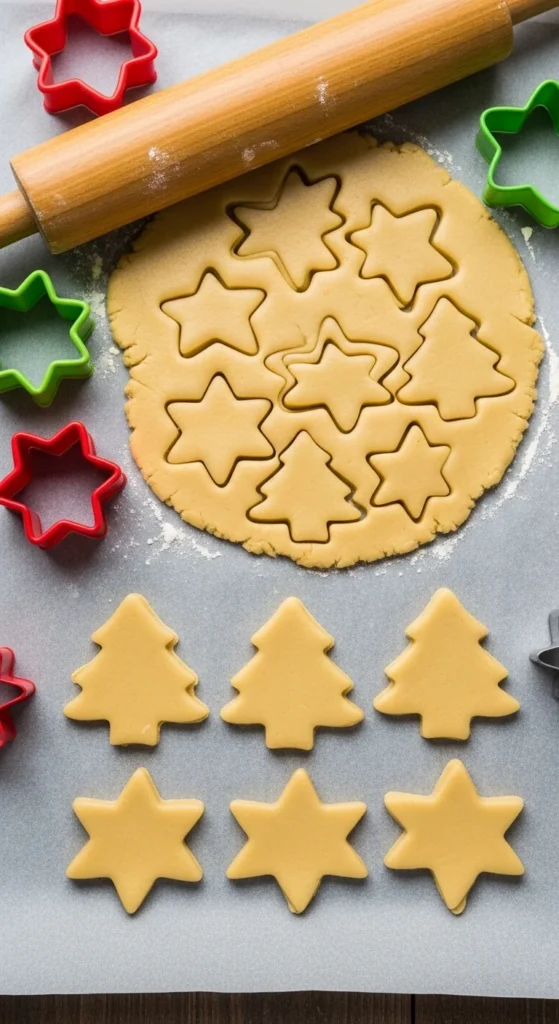
Step 4: Roll and Cut with Care
Lightly flour your surface and roll the dough to about ¼-inch thickness. Rotate it occasionally to prevent sticking.
Use cookie cutters dipped in flour for clean cuts. Gently lift shapes with a spatula onto a parchment-lined baking sheet.
Pro Tip: After cutting, pop the entire tray of cookies into the fridge for another 10–15 minutes before baking. This final chill locks in those crisp outlines.
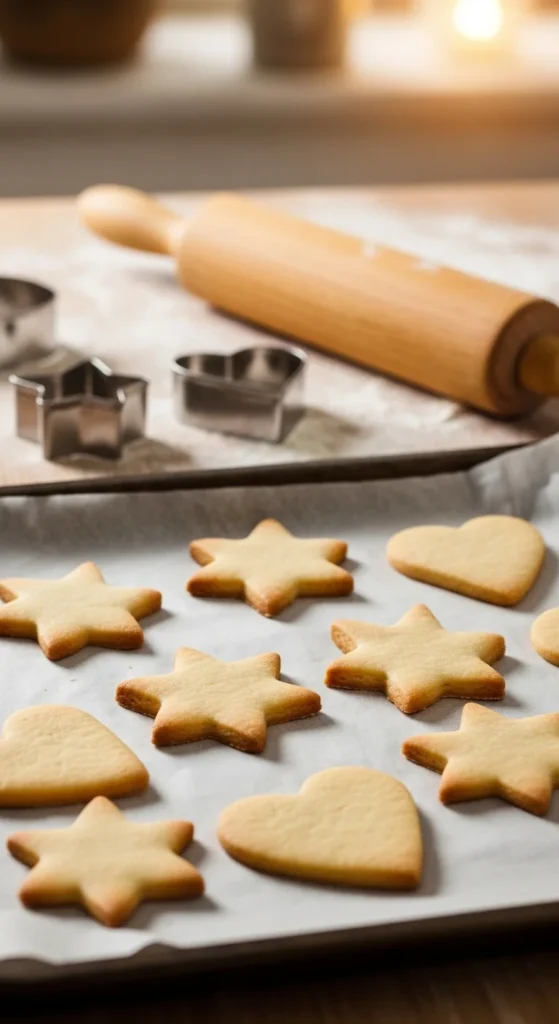
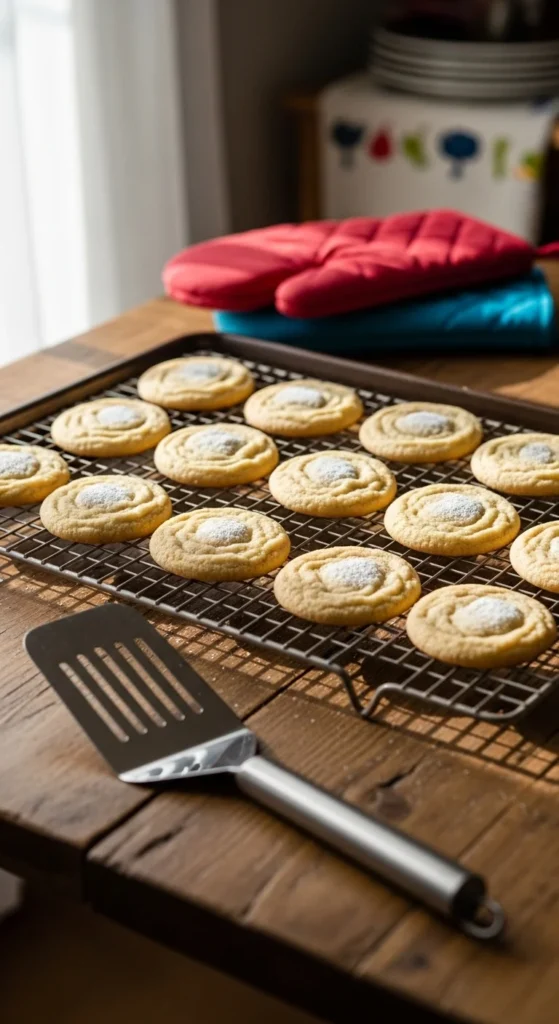
Step 5: Bake to Perfection
Bake cookies at 350°F (175°C) for 8–10 minutes, depending on size. The goal is pale edges — not golden brown. That means they’ll stay soft and maintain shape.
Once baked, let cookies cool on the sheet for a few minutes before transferring to a wire rack.
Avoid these shape-ruining mistakes:
- Overbaking — they’ll expand and brown too much.
- Hot baking sheets — cool between batches.
- Crowding — give each cookie room to breathe.
Step 6: Decorate Without Warping
Once the cookies are completely cool, it’s time for the fun part — decorating! Royal icing or simple glaze works best because it hardens without melting the cookie’s edges.
Decoration ideas:
- Outline with white icing, then flood with color.
- Add sprinkles before the icing sets.
- Use edible glitter for a festive touch.

Bonus Tips for Cookies That Always Hold Their Shape
- Measure flour accurately – Too little makes dough sticky; too much makes it dry.
- Cool completely before decorating – Warm cookies cause icing to run.
- Avoid self-rising flour – It contains leaveners that make cookies puff.
- Bake one tray at a time – Even heat ensures perfect results.
Final Takeaway
With the right technique — from chilling the dough to baking with precision — you can finally bake sugar cookies that look as good as they taste. These cookies are perfect for holidays, birthdays, or just because you deserve a little sweetness.
So go ahead — roll out that dough, grab your favorite cutters, and start baking!
Save this recipe for later and pin it for your next cookie-baking day! 🍪

Leave a Reply