
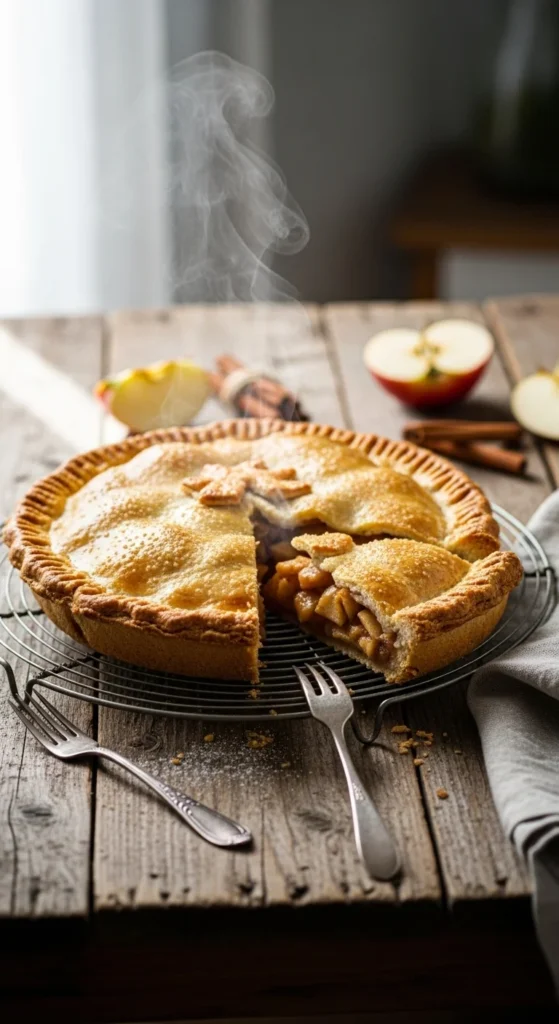
There’s something magical about a homemade apple pie—the buttery aroma, the flaky crust, the warm, cinnamon-spiced filling bubbling just beneath the golden top. But here’s the truth: the secret to an unforgettable apple pie isn’t just in the filling—it’s in the crust.
A perfect pie crust should be buttery, flaky, and tender, holding its shape beautifully while melting in your mouth with every bite.
If you’ve ever struggled with tough, soggy, or crumbly dough, don’t worry. This step-by-step guide will show you exactly how to make the perfect apple pie crust from scratch—just like grandma used to!
Step 1: Gather Your Ingredients
Before you start, make sure everything is cold—especially the butter and water. Cold ingredients help create those delicious flaky layers.
You’ll need:
- 2 ½ cups all-purpose flour
- 1 cup (2 sticks) unsalted butter, cold and cubed
- 1 teaspoon salt
- 1 tablespoon sugar
- 6–8 tablespoons ice water
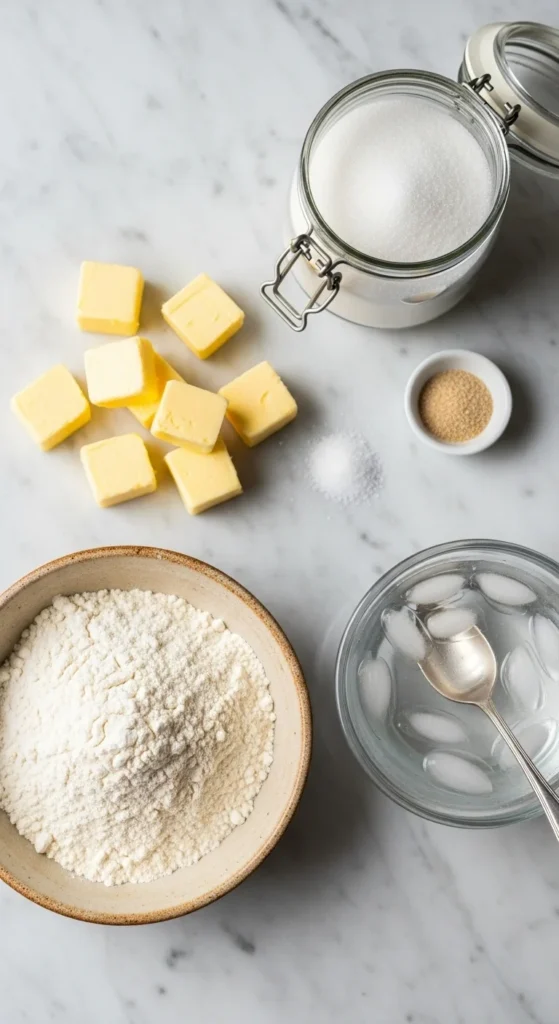
Pro Tip: If your kitchen is warm, chill your mixing bowl and rolling pin for a few minutes before you begin. It makes a difference!
Step 2: Cut the Butter Into the Flour
This is where the flakiness begins. The goal is to coat the flour with butter while keeping some small, pea-sized chunks intact—these melt during baking and create airy pockets in the crust.
- Combine flour, salt, and sugar in a large bowl.
- Add the cold, cubed butter.
- Use a pastry cutter or your fingertips to gently mix until the texture resembles coarse crumbs.

Don’t overwork it! The dough should still look a little rough. Overmixing warms the butter and leads to a dense crust.
Step 3: Add Ice Water Gradually
Sprinkle ice water over the dough, one tablespoon at a time, tossing gently with a fork after each addition. Stop when the dough just starts to hold together—don’t make it too wet or sticky.
- If it feels dry, add a bit more water.
- If it feels sticky, dust lightly with flour.
Gather the dough into a ball, divide it in half, flatten into disks, and wrap in plastic wrap. Chill in the fridge for at least 1 hour.

Why chill? Resting the dough allows the gluten to relax and the butter to firm up, making it easier to roll and helping the crust stay flaky.
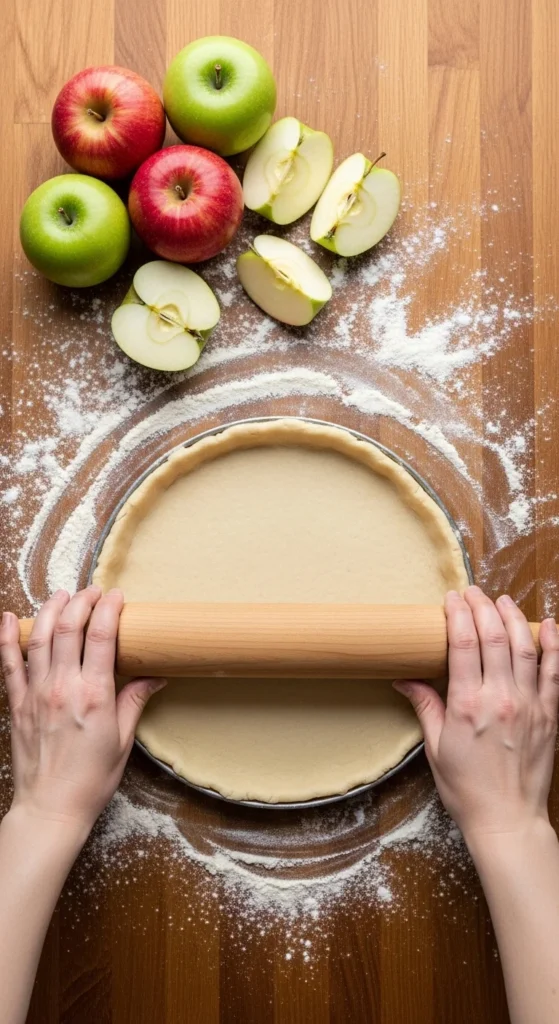
Step 4: Roll Out Your Dough
Once chilled, take one disk out of the fridge and let it rest at room temperature for 5–10 minutes. Then roll it out on a floured surface into a circle about ⅛ inch thick.
Rolling Tips:
- Always roll from the center outward.
- Rotate the dough a quarter turn every few rolls to keep it even.
- Dust off excess flour before placing it in the pie pan.
Gently lift the rolled dough into your pie dish, pressing it lightly into the edges. Trim any overhang, leaving about an inch to fold over later.
Step 5: Assemble and Chill Before Baking
Now comes the fun part—adding your filling and sealing the deal!
- Pour in your prepared apple filling (tossed with cinnamon, sugar, and lemon juice).
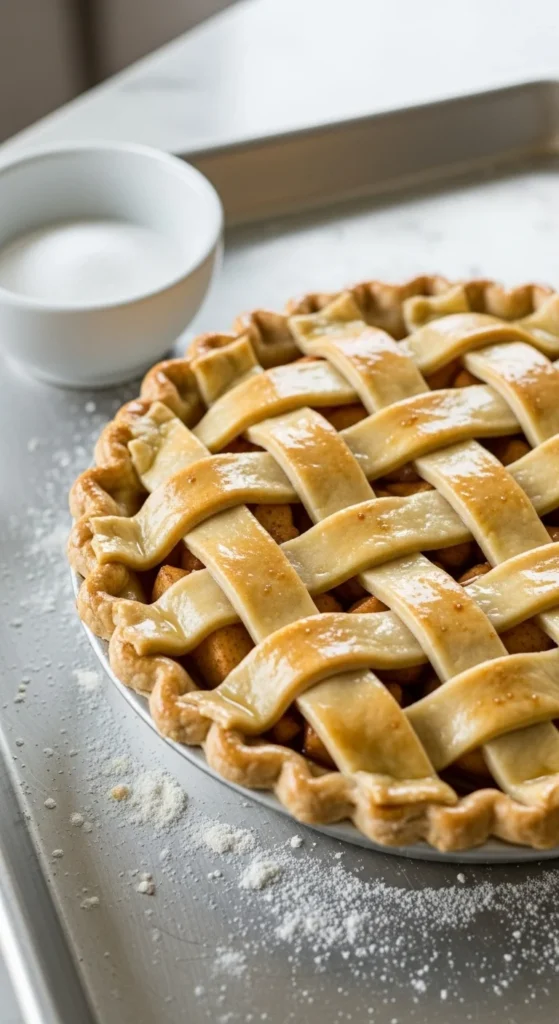
- Roll out the second dough disk for the top crust—either as a full cover or a lattice design.
- Crimp the edges with your fingers or a fork to seal.
Before baking, chill the assembled pie for 15–20 minutes. This helps prevent shrinkage and keeps the crust beautifully crisp.
Step 6: Bake Until Golden and Flaky
Brush the top crust with an egg wash (1 beaten egg + 1 tablespoon water) for that glossy, golden finish. Sprinkle a little sugar on top if you like.
- Bake at 425°F (220°C) for 20 minutes.
- Then reduce heat to 375°F (190°C) and bake another 35–40 minutes, until the crust is deep golden brown and the filling is bubbling.
If the edges brown too quickly, cover them with foil midway through.
Step 7: Cool and Serve
Let the pie cool for at least 2 hours before slicing. This gives the filling time to set and makes for cleaner cuts.
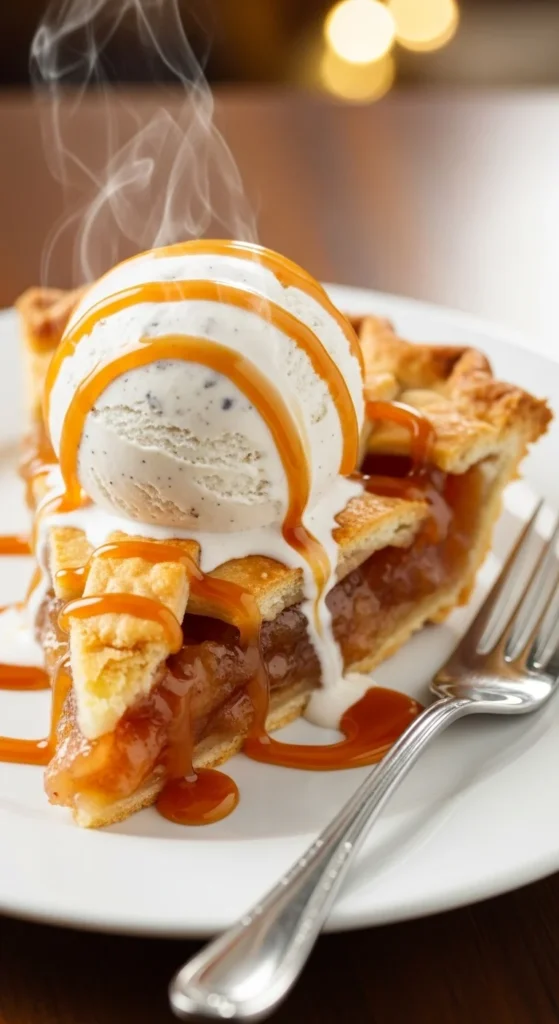
Serve warm with a scoop of vanilla ice cream or a dollop of whipped cream—because what’s apple pie without it?
Final Thoughts
There you have it—the perfect homemade apple pie crust that’s flaky, buttery, and golden every single time. With a little patience (and plenty of cold butter), you’ll master this classic recipe and wow everyone at the table.
✨ Save this recipe for later and share it with a friend who loves baking from scratch!

Leave a Reply