
Ever baked a cake that looked beautiful in the oven — only to end up with lopsided, sliding layers when you tried to stack it? Don’t worry — you’re not alone! Leveling and stacking cake layers may seem like something only professional bakers can do, but with the right tools and a few expert tips, you can create bakery-worthy layer cakes right at home.
In this guide, we’ll walk you through how to get perfectly even layers, how to stack them securely, and how to make your cakes look effortlessly polished every time.
Step 1: Cool and Prepare Your Cake Layers
The secret to a perfectly stacked cake starts before you even grab your knife.
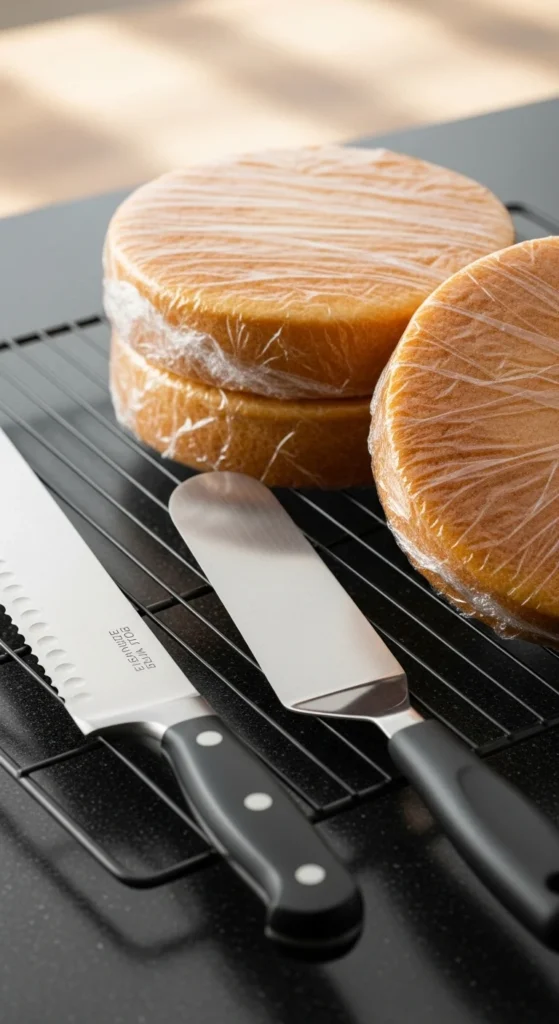
- Let cakes cool completely. Cutting warm cakes leads to crumbling and uneven surfaces. Cool them on a wire rack for at least an hour.
- Chill slightly. Pop the layers into the fridge for 20–30 minutes to firm them up — it’ll make leveling easier and less messy.
- Gather your tools:
- Serrated knife or cake leveler
- Offset spatula
- Cake turntable (optional, but game-changing)
- Cake board or flat serving plate
- Serrated knife or cake leveler
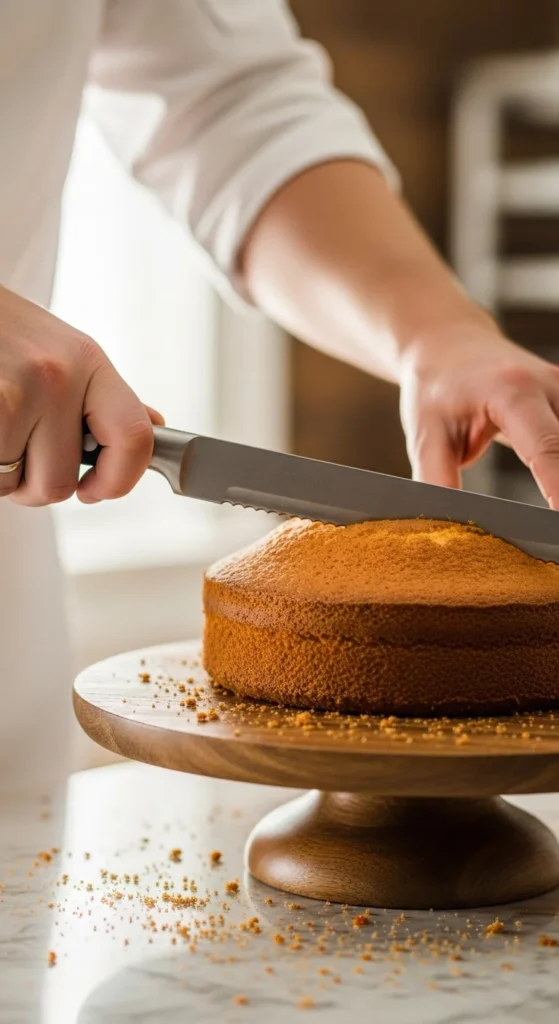
Step 2: Level the Cake Layers Evenly
Here’s where the magic happens — getting those flat, even layers that stack beautifully.
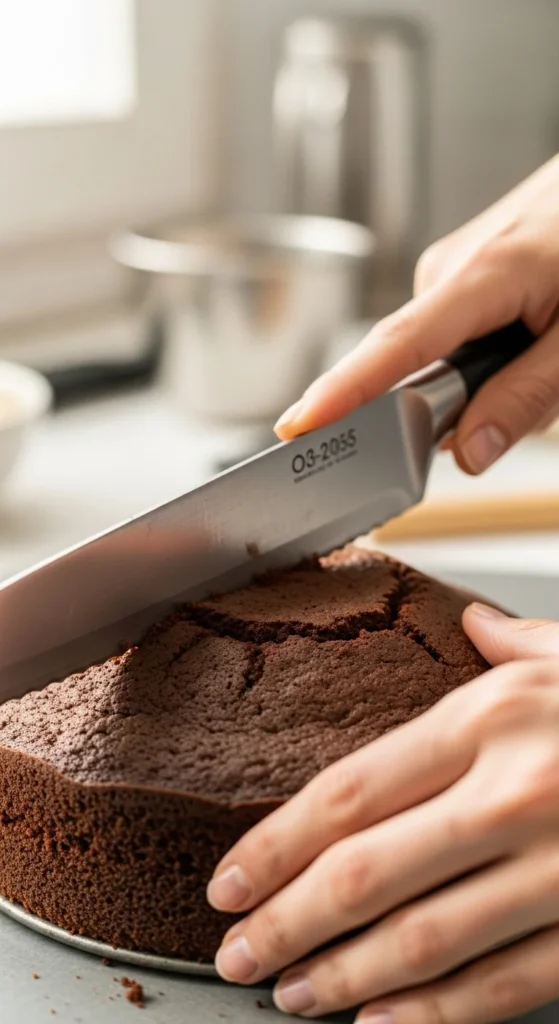
- Mark your cutting line: Use a ruler or your knife to lightly score around the cake at the height you want to cut.
- Slice slowly: With your serrated knife parallel to the counter, gently saw through the cake while rotating it on the turntable.
- Remove the dome: Lift off the top and admire that smooth, flat surface!
- Repeat for all layers so they’re consistent in height.
Pro Tip: Save those trimmed tops! They make excellent snacks or can be crumbled into cake pops.
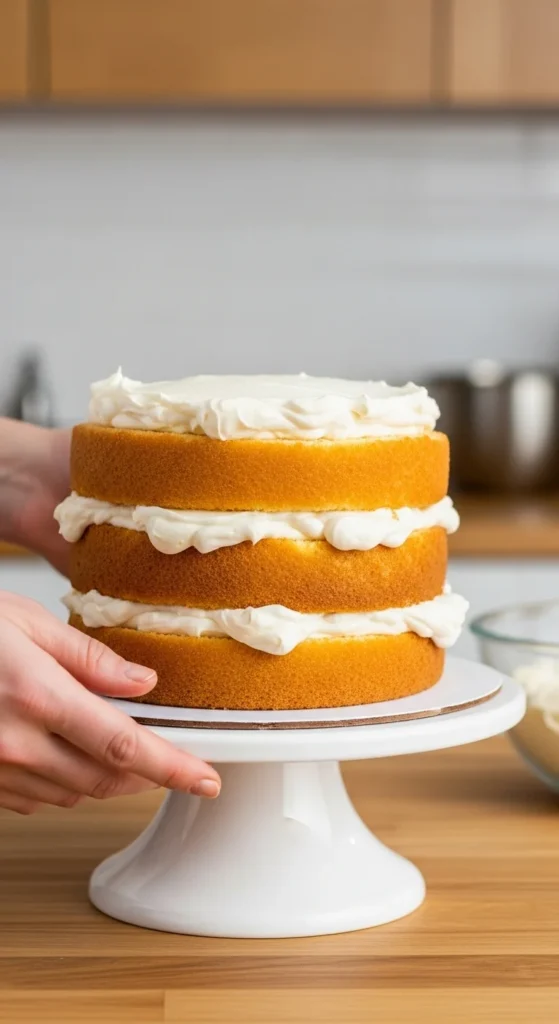
Step 3: Add Support and Stability While Stacking
Even if your layers are perfectly flat, stacking them correctly keeps your cake from leaning or sliding.
- Start with a sturdy base. Place a dab of frosting on your cake board — it acts like glue to keep the first layer in place.
- Apply frosting between layers. Spread a generous, even layer of buttercream or filling using an offset spatula.
- Stack carefully. Center each layer directly over the one below it, pressing down gently to eliminate air gaps.
- Check alignment. Step back and make sure your cake isn’t tilting before moving on.
If you’re working with a tall or multi-tiered cake, insert dowels or straws for extra stability.
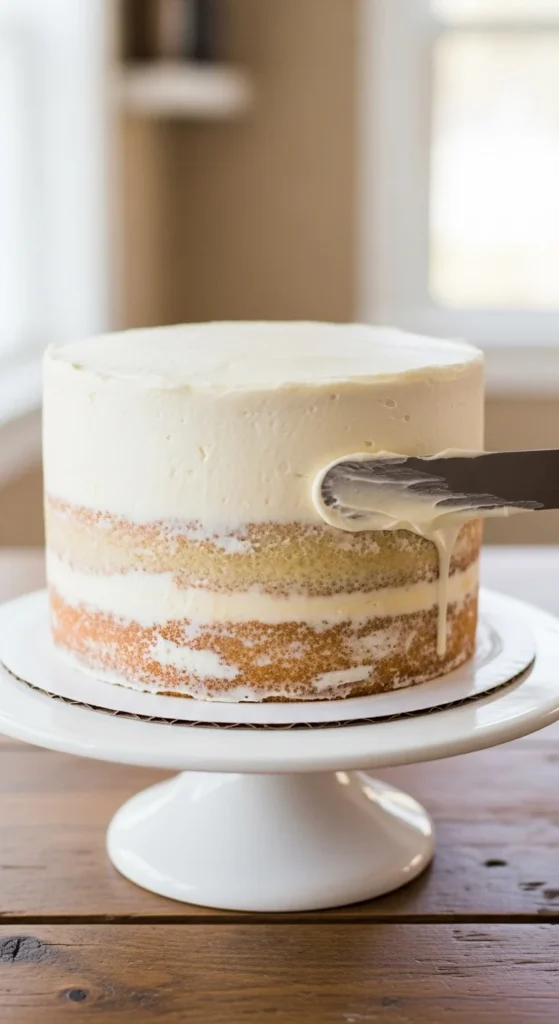
Step 4: Crumb Coat for a Clean Finish
Before diving into final decoration, always apply a crumb coat — a thin layer of frosting that locks in loose crumbs.
- Spread a light layer of frosting over the entire cake.
- Chill for 15–30 minutes to let it set.
- Finish with your final coat of frosting once it’s firm to the touch.
This step ensures your finished cake looks smooth and professional — no pesky crumbs ruining your perfect design.
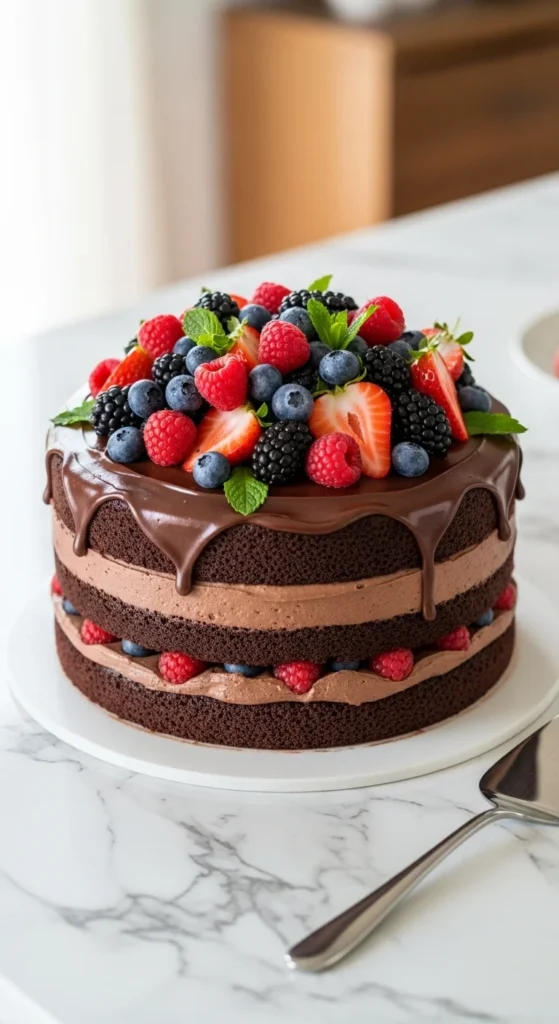
Step 5: Decorate and Serve Like a Pro
Once your cake is level, stacked, and smooth, the fun part begins — decorating!
Here are some easy finishing touches:
- Add piped borders or swirls using a star tip.
- Press sprinkles or crushed nuts along the bottom edge.
- Top with fresh flowers, fruit, or chocolate shavings.
Then, step back and admire your masterpiece — a perfectly leveled, beautifully stacked cake ready to impress!
Final Takeaway
Leveling and stacking cake layers isn’t just about looks — it’s about creating a stable, professional-quality cake that’s as satisfying to slice as it is to eat. With a few tools, patience, and practice, you’ll master this skill in no time.
Save this guide for your next celebration — your future self (and your guests) will thank you! 🎂✨

Leave a Reply