
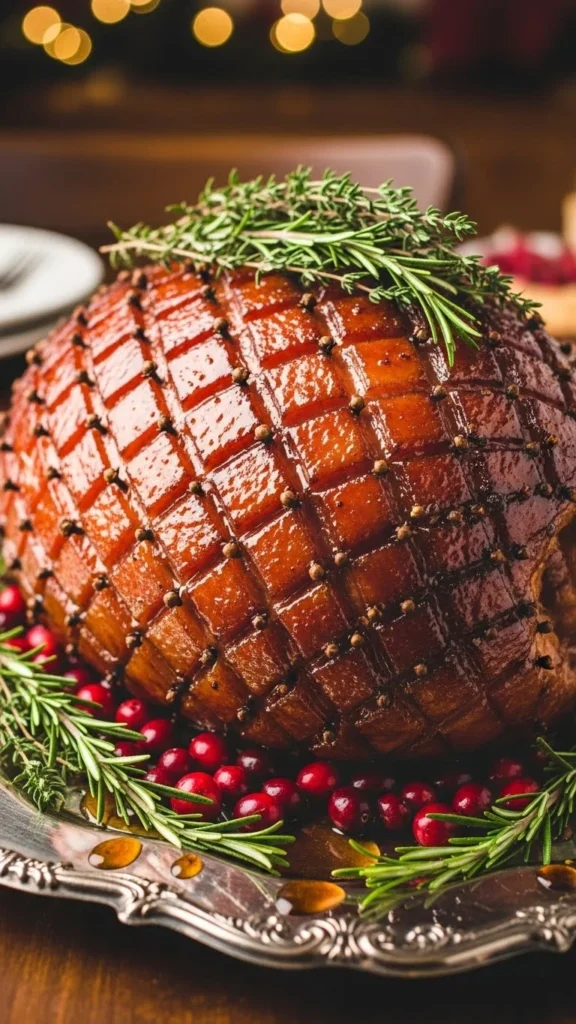
The holidays are all about flavor, festivity, and family gathered around the table. And nothing says “holiday feast” quite like a beautifully glazed ham, glistening under twinkling lights, filling your kitchen with warm, sweet, and savory aromas. But here’s the secret: the glaze is everything. A perfectly balanced glaze turns an ordinary ham into the star of your holiday table.
If you’ve ever struggled with dry or bland ham, this guide is for you. Let’s dive into how to make the perfect holiday ham glaze at home—sweet, tangy, and irresistibly sticky.
Ingredients for a Show-Stopping Glaze
The beauty of a holiday ham glaze is in its simplicity. You can mix and match flavors depending on whether you want it sweet, citrusy, or a little spicy. Here’s a classic combination that always works:
- 1 cup brown sugar – adds deep sweetness
- 1/2 cup honey or maple syrup – for that sticky, shiny finish
- 1/4 cup Dijon mustard – balances the sweetness with tang
- 1/4 cup orange juice – brightens the flavor
- 2 tablespoons apple cider vinegar – adds a subtle zing
- Optional spices: ground cloves, cinnamon, or nutmeg

Mix these together in a small saucepan and heat gently to dissolve the sugar. Stir frequently to prevent burning—your kitchen will smell heavenly.
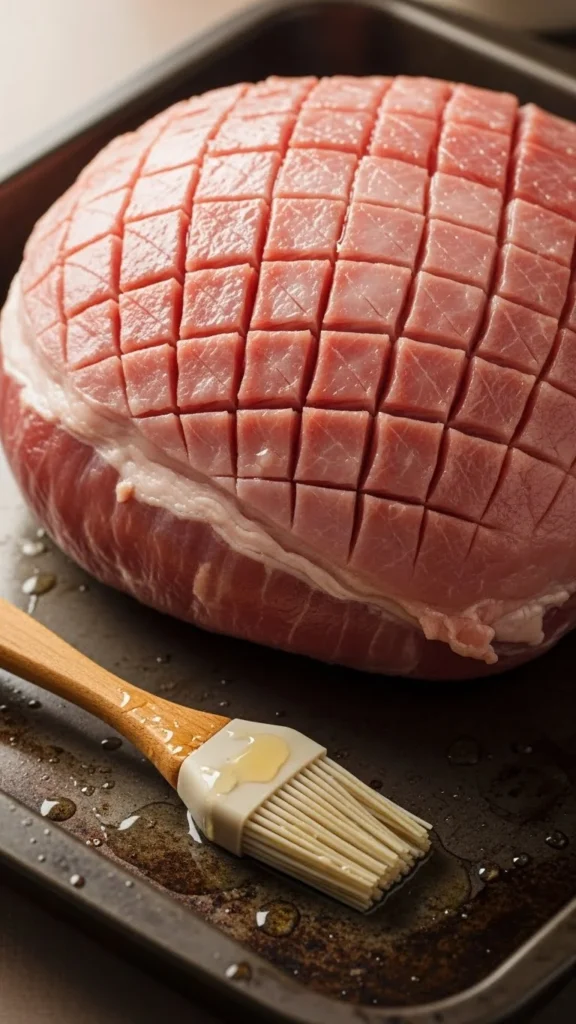
Step 1: Preparing the Ham
Before you even touch the glaze, the ham needs a little prep:
- Score the surface – Lightly cut shallow diamond shapes into the fat layer. This allows the glaze to seep in and form a beautiful caramelized crust.
- Pat dry – Make sure the ham is dry so the glaze adheres well.
- Position in the pan – Place your ham on a rack in a roasting pan to allow heat to circulate evenly.
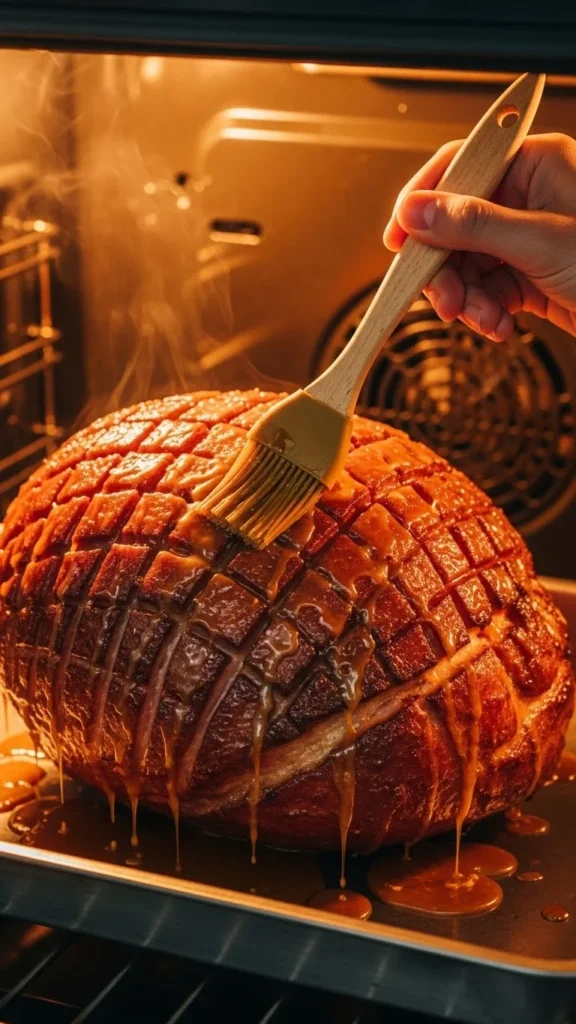
Step 2: Glazing the Ham
Now comes the fun part! Here’s how to apply your glaze for maximum flavor:
- Brush generously – Coat the ham evenly with the glaze using a basting brush.
- Bake at low heat – Start with 325°F (160°C) to warm the ham through.
- Reapply glaze – Every 15–20 minutes, brush more glaze onto the ham. This builds layers of flavor and helps create that sticky, caramelized crust.
- Watch for caramelization – In the last 10–15 minutes, you can increase the oven to 400°F (200°C) for a glossy, golden finish.
Step 3: Flavor Variations
You don’t have to stick to one flavor profile. Here are a few creative twists:
- Maple & Bourbon – Swap honey for maple syrup and add a splash of bourbon for warmth and depth.
- Pineapple & Brown Sugar – Use pineapple juice instead of orange juice and add crushed pineapple for tropical sweetness.
- Spiced Apple Cider – Replace orange juice with apple cider and add a pinch of allspice or cloves.
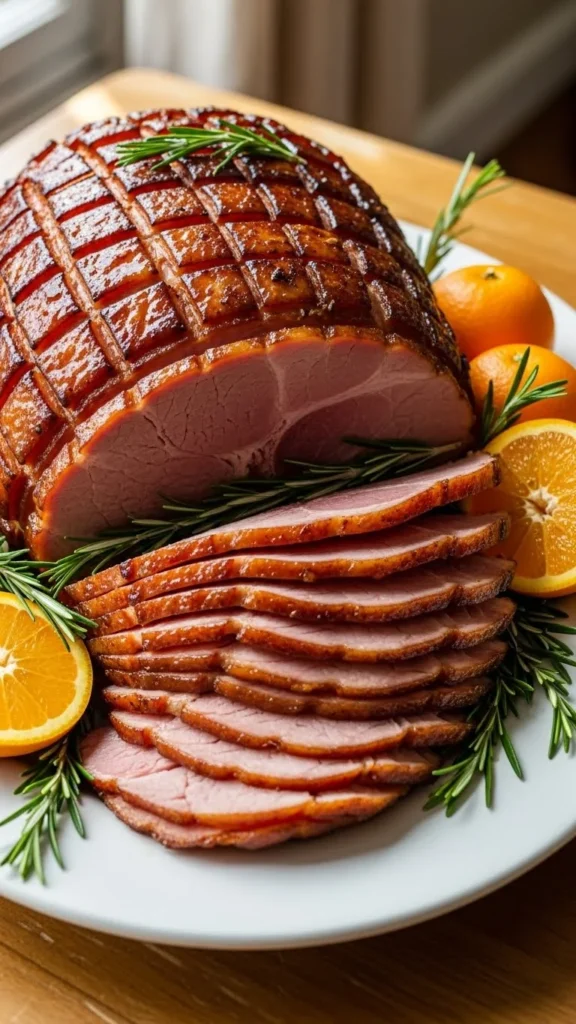
Step 4: Resting and Serving
Once your ham reaches a beautiful caramelized color and internal temperature of 140°F (60°C) for pre-cooked ham, remove it from the oven and let it rest for 10–15 minutes. This helps the juices redistribute, keeping every slice moist and tender.
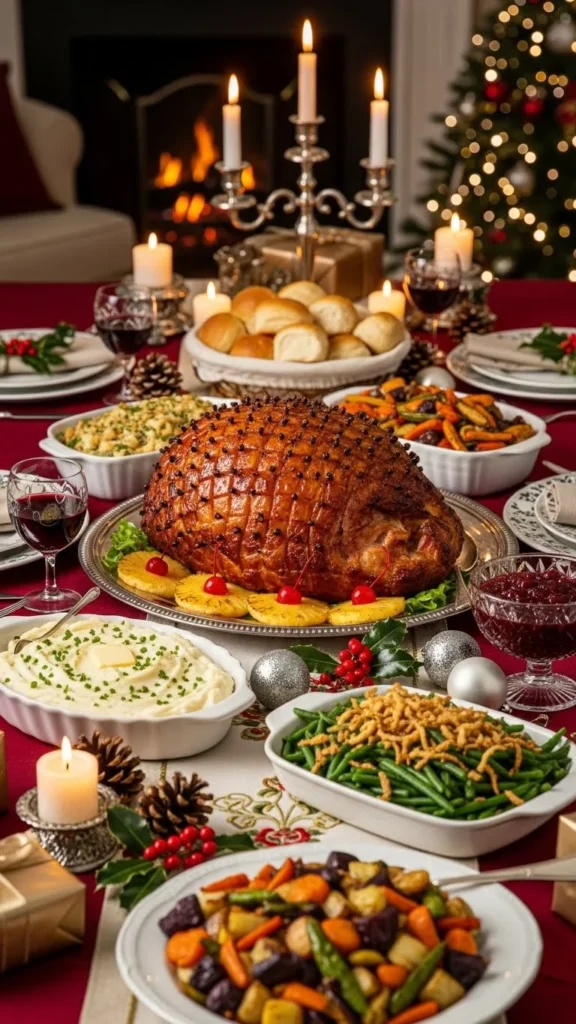
Carve the ham into thin, juicy slices and drizzle any remaining glaze over the top. Serve on a festive platter garnished with fresh herbs, citrus slices, or cranberries for a picture-perfect presentation.
Tips for a Perfect Holiday Ham
- Don’t rush the glaze – Multiple layers are better than one thick coat.
- Use a meat thermometer – Avoid overcooking and drying out your ham.
- Experiment with sweetness – Adjust sugar or honey levels depending on your taste.
- Leftover glaze? – Heat gently and serve as a dipping sauce—it’s too good to waste!
A perfectly glazed holiday ham isn’t just about taste—it’s about creating a warm, festive centerpiece that your guests will remember. With a little patience and a lot of flavor, you’ll turn a simple ham into the star of your holiday dinner.
Save this recipe for later and make this holiday season the most flavorful one yet!

Leave a Reply