
There’s nothing quite like the smell of freshly baked cinnamon rolls wafting through your kitchen on a lazy morning. Warm, buttery, soft, and packed with a swirl of sweet cinnamon filling — these homemade cinnamon rolls will make your house feel like a bakery. And the best part? You can make them entirely from scratch without needing any fancy equipment!
Let’s roll (pun intended) into how to create these irresistible, gooey delights step by step.
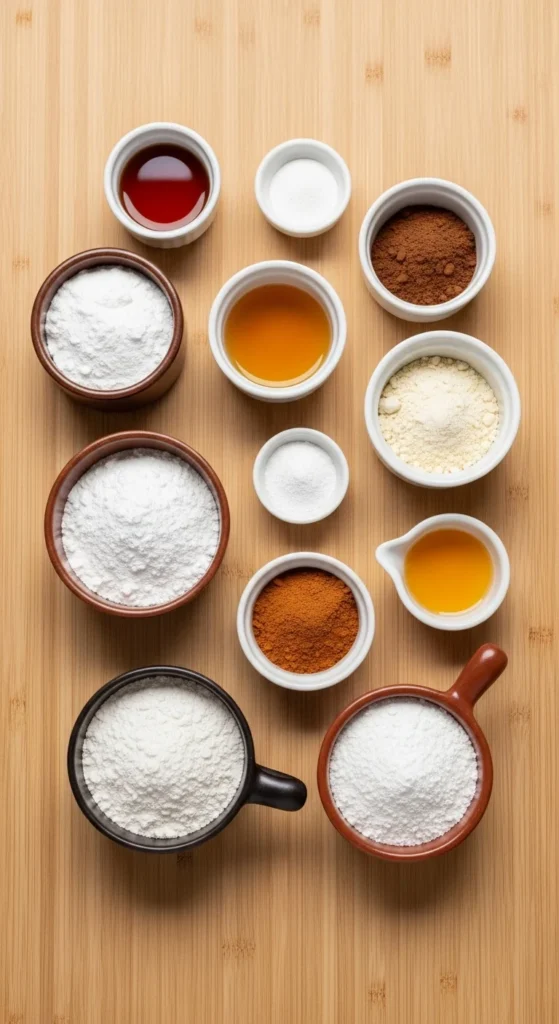
Step 1: Gather Your Ingredients
Before diving into the dough, make sure you’ve got everything ready to go. Here’s what you’ll need for soft, bakery-style cinnamon rolls:
For the Dough:
- 3 ½ cups all-purpose flour (plus more for dusting)
- ½ cup warm milk
- ¼ cup sugar
- 2 ¼ tsp (1 packet) active dry yeast
- ¼ cup unsalted butter, softened
- 2 large eggs
- ½ tsp salt
For the Filling:
- ¾ cup brown sugar
- 2 tbsp cinnamon powder
- ¼ cup melted butter
For the Cream Cheese Glaze:
- 4 oz cream cheese, softened
- 2 tbsp butter, melted
- ½ cup powdered sugar
- 1–2 tbsp milk
- ½ tsp vanilla extract
Step 2: Make the Dough
This is the heart of your cinnamon rolls — soft, fluffy dough that rises beautifully.
- Activate the yeast: In a small bowl, mix warm milk (not hot!) with sugar and yeast. Let it sit for 5–10 minutes until it becomes frothy.
- Combine wet ingredients: In a large mixing bowl, whisk together eggs and melted butter. Add the activated yeast mixture and stir.
- Add dry ingredients: Gradually mix in flour and salt until a soft dough forms. Knead for about 8–10 minutes, either by hand or using a mixer with a dough hook, until smooth and elastic.
- Let it rise: Place the dough in a greased bowl, cover it with a damp cloth, and let it rise in a warm place for about 1 hour or until doubled in size.

Pro Tip: If your kitchen is cool, place the bowl inside your oven (turned off) with just the oven light on to help the dough rise faster.
Step 3: Roll, Fill, and Slice
Now comes the fun (and deliciously messy) part — assembling your rolls!
- Roll out the dough: Once risen, punch down the dough and roll it into a rectangle about ¼ inch thick on a floured surface.
- Spread the filling: Brush the dough with melted butter, then sprinkle the brown sugar-cinnamon mixture evenly across the surface.
- Roll it up: Starting from the long side, tightly roll the dough into a log.
- Cut the rolls: Slice the log into even pieces, about 1 to 1½ inches thick, and place them in a greased baking pan.
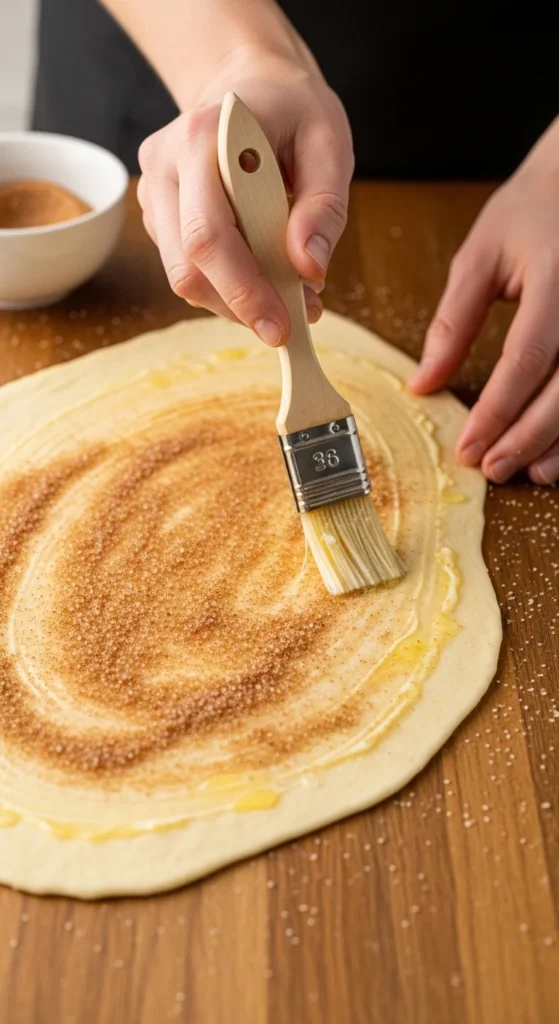
Tip: Use unflavored dental floss to slice your rolls cleanly without squishing them!
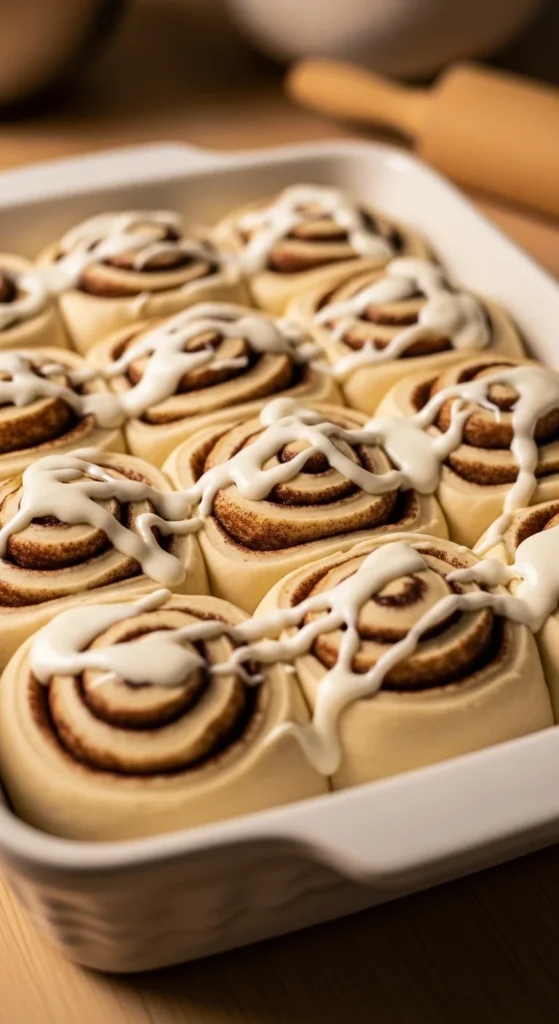
Step 4: Let the Rolls Rise Again
Once your rolls are arranged in the pan, cover them and let them rise again for about 30–40 minutes. They should puff up nicely and fill the pan.
While you’re waiting, preheat your oven to 350°F (175°C).
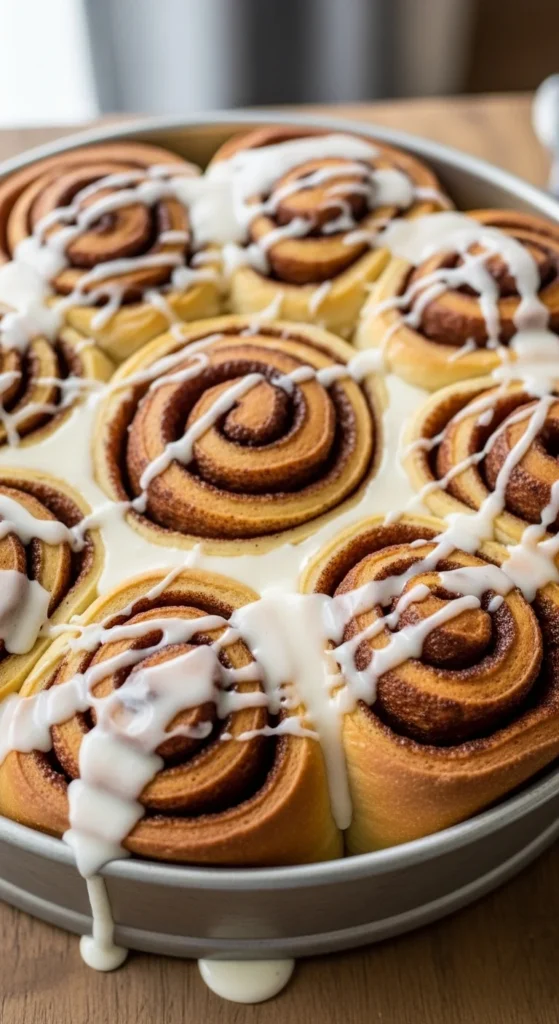
Step 5: Bake to Perfection
Bake the cinnamon rolls for 22–25 minutes or until golden brown on top. You’ll know they’re done when your kitchen smells like heaven!
Once baked, let them cool for a few minutes before drizzling with glaze — because no cinnamon roll is complete without that creamy topping.
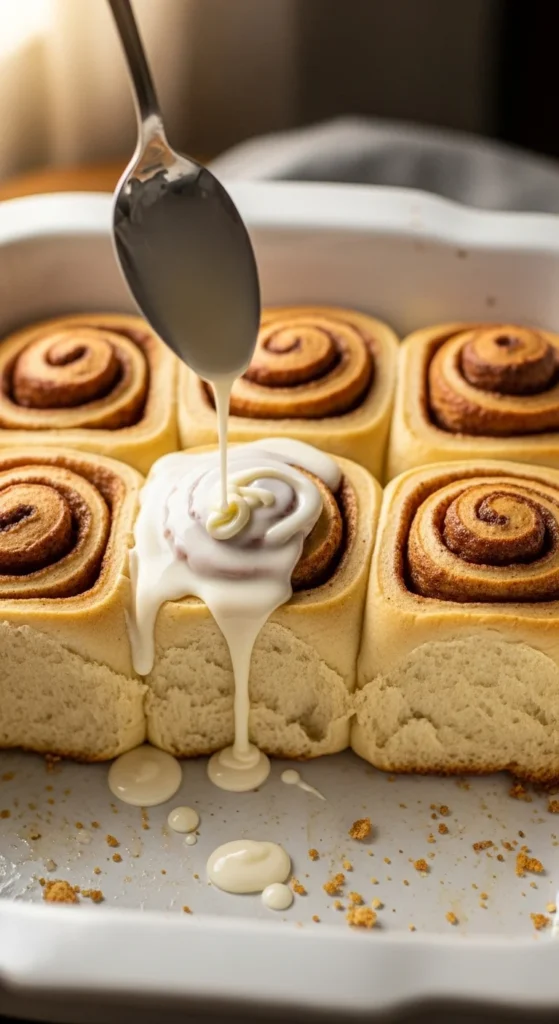
Step 6: Make the Cream Cheese Glaze
While your rolls are cooling slightly, whip up the glaze:
- Beat together softened cream cheese and butter until smooth.
- Add powdered sugar, vanilla extract, and milk. Mix until creamy and pourable.
- Spread (or drizzle) the glaze over the warm rolls for that glossy, gooey finish.
Optional Twist: Add a touch of maple syrup or orange zest to the glaze for a unique flavor boost!
Tips for Perfect Cinnamon Rolls Every Time
- Use room temperature ingredients for better dough texture.
- Don’t overbake — slightly underdone rolls stay softer and gooier.
- Store smart: Keep leftover rolls in an airtight container and warm them for 15 seconds in the microwave before eating.
- Make ahead: Prepare the rolls the night before, refrigerate overnight, and bake in the morning for fresh, warm cinnamon rolls without the wait.
The Sweet Takeaway
There’s something magical about making cinnamon rolls from scratch — the patience, the aroma, the first warm bite. Once you try these, you’ll never go back to store-bought again.
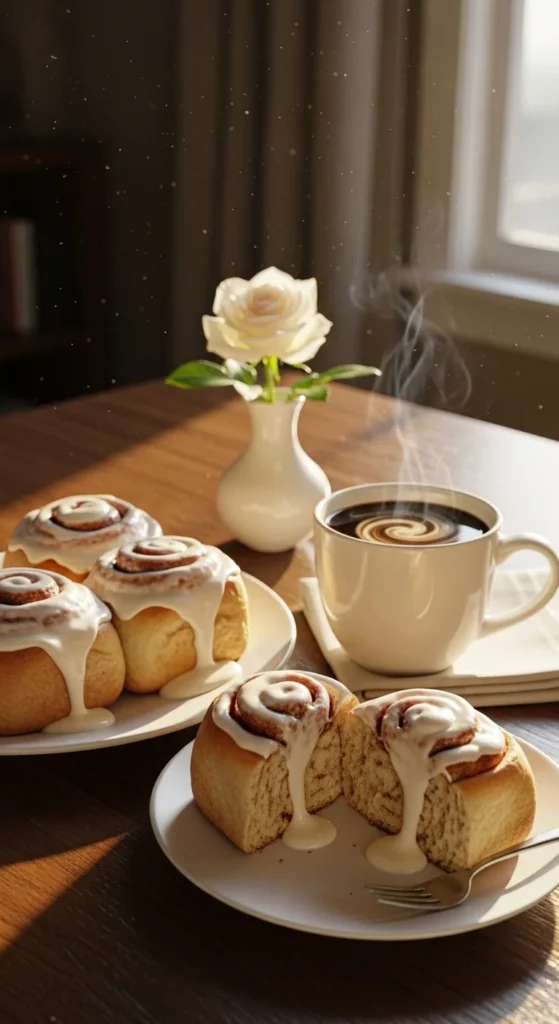
Save this recipe for your next weekend bake — your kitchen (and your loved ones) will thank you! 🍯

Leave a Reply