
Fluffy, smooth, and irresistibly creamy — the perfect cupcake frosting can turn a simple bake into a bakery-worthy treat. Whether you’re frosting for a birthday party or a weekend indulgence, the key lies in mastering the texture and flavor balance. In this guide, you’ll learn the simple secrets to whipping perfect cupcake frosting every single time — no fancy tools required!
Step 1: Choose the Right Frosting Type
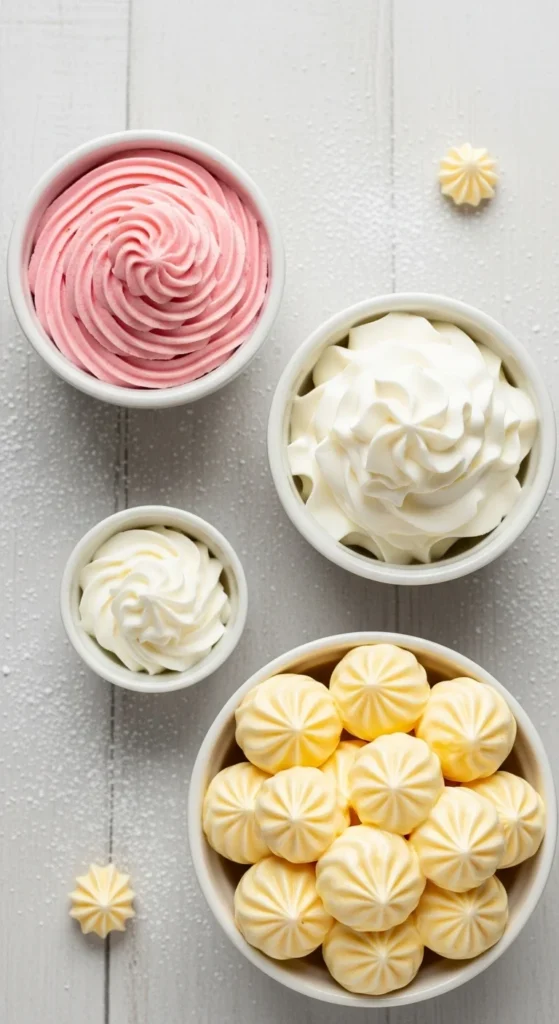
Before you start mixing, decide what kind of frosting fits your cupcakes best. Each type has its own charm and texture:
- Buttercream Frosting – Rich, smooth, and the most classic option for cupcakes.
- Cream Cheese Frosting – Slightly tangy and perfect for carrot or red velvet cupcakes.
- Whipped Cream Frosting – Light and airy, ideal for fruit-flavored or summer cupcakes.
- Swiss Meringue Buttercream – Elegant and silky, great for a professional finish.
Pro Tip: If you’re new to frosting, start with classic American buttercream. It’s simple, stable, and super forgiving.
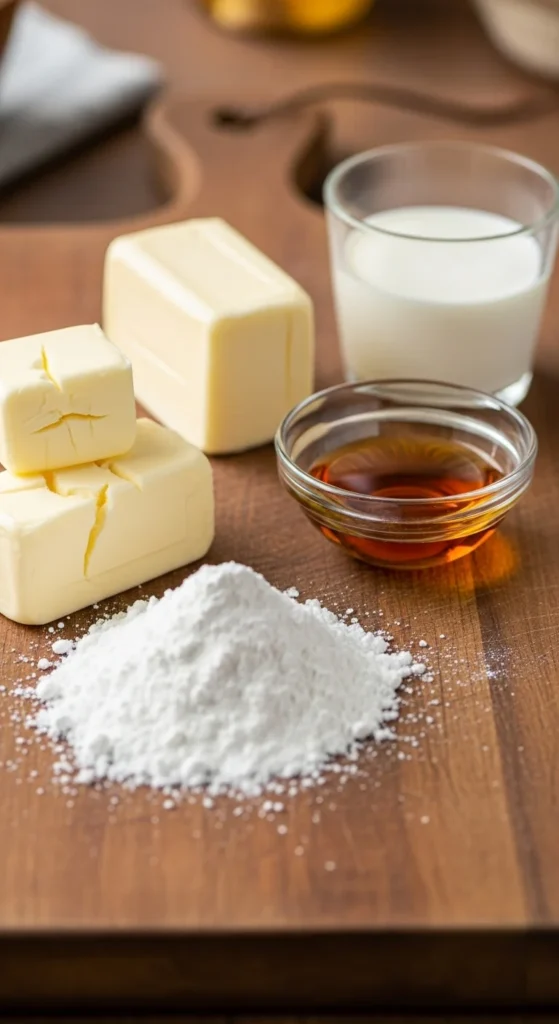
Step 2: Gather Fresh, Room-Temperature Ingredients
The quality of your ingredients makes a big difference in both taste and texture.
Here’s what you’ll typically need for a basic buttercream:
- 1 cup (2 sticks) unsalted butter
- 3–4 cups powdered sugar
- 2 teaspoons vanilla extract
- 2–3 tablespoons heavy cream or milk
- A pinch of salt
Why room temperature matters:
- Soft butter whips up fluffy and smooth.
- Cold ingredients cause lumps and ruin the texture.
- Even temperature means consistent mixing.
Step 3: Whip It the Right Way
Now, it’s time for the magic! Whipping technique determines whether your frosting turns out airy or dense.
Follow these simple steps:
- Beat the butter first – Use a hand or stand mixer to whip it for about 2–3 minutes until pale and creamy.
- Add powdered sugar gradually – Mix on low speed to avoid a sugar cloud, then increase to medium-high.
- Incorporate cream and flavoring – Add vanilla extract and cream a little at a time.
- Whip for 3–4 minutes more – Keep going until your frosting looks light and fluffy.
Texture test: When you lift the beater, the frosting should form soft peaks that hold their shape.

Step 4: Fix Common Frosting Problems
Even the best bakers face frosting mishaps — but don’t panic! Here’s how to fix them easily:
- Too Stiff? Add 1 tablespoon of cream or milk and beat again.
- Too Runny? Add ¼ cup of powdered sugar at a time until it thickens.
- Too Sweet? Mix in a pinch of salt or a teaspoon of lemon juice.
- Grainy Texture? Keep whipping — it usually smooths out as air incorporates.
Pro Tip: If it’s a hot day, refrigerate your frosting for 10 minutes before piping to make it firm and stable.

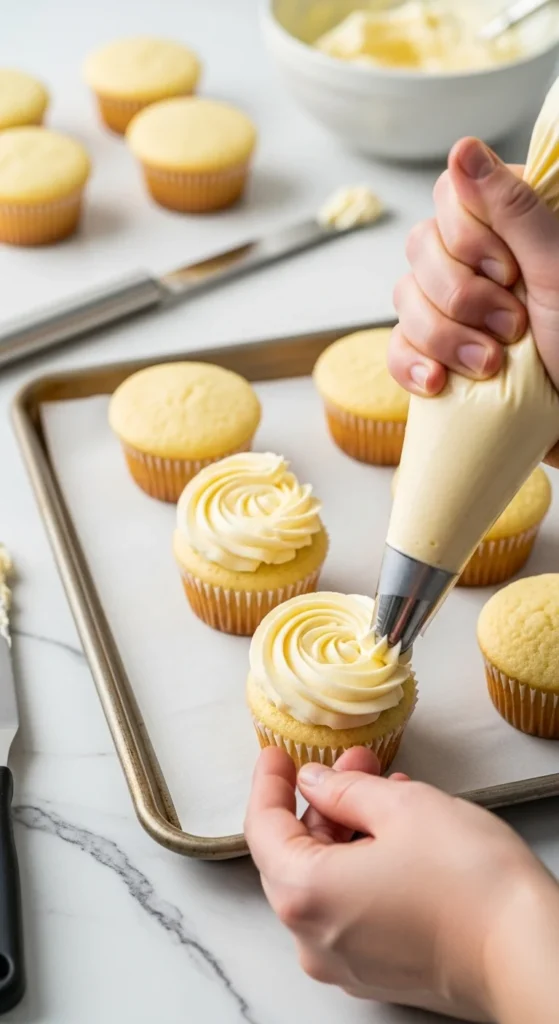
Step 5: Pipe Like a Pro
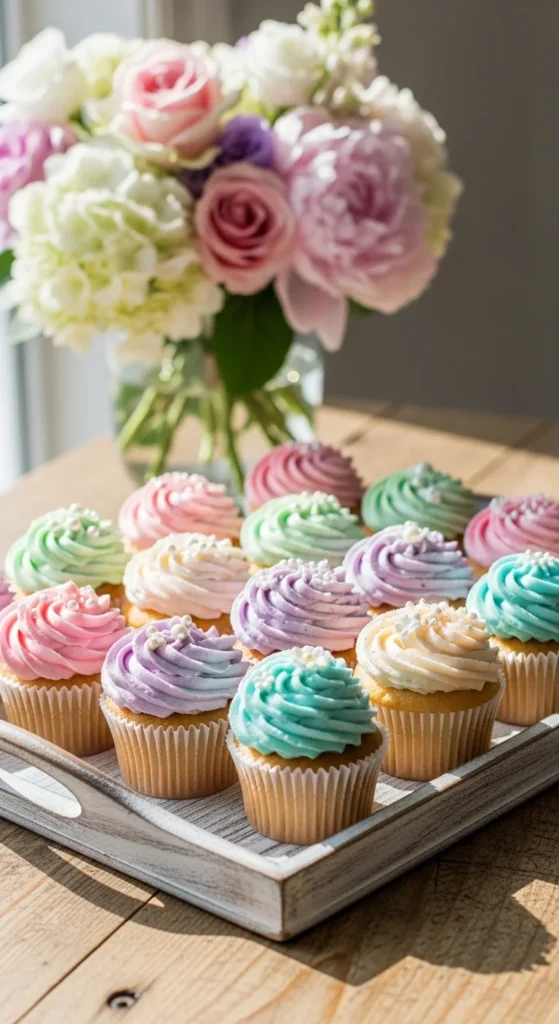
Presentation matters! Use a piping bag fitted with your favorite nozzle (like a star or round tip) for that picture-perfect swirl.
For the best results:
- Hold the piping bag straight above the cupcake.
- Apply gentle pressure while circling outward to inward.
- Finish with a quick twist at the top.
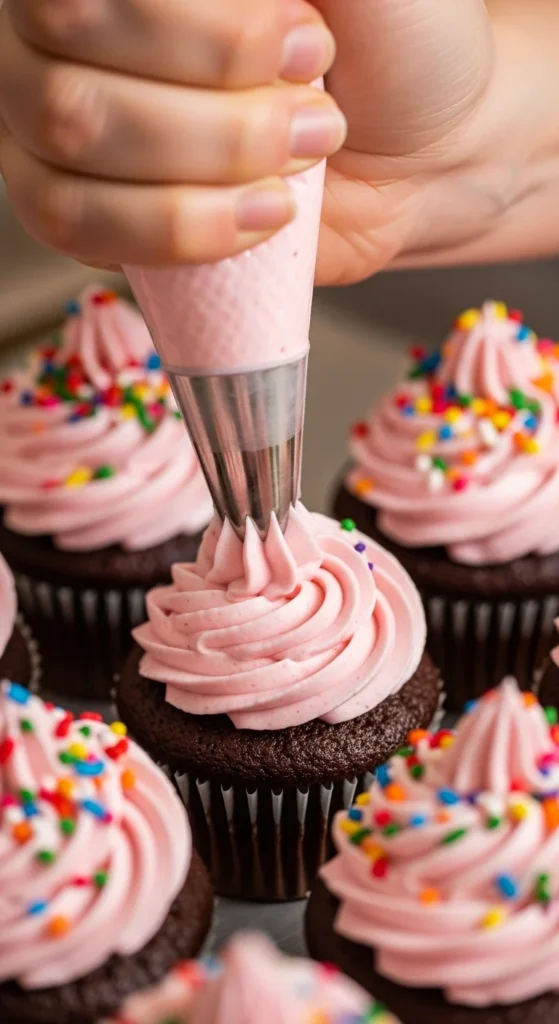
Creative idea: Add sprinkles, edible pearls, or a drizzle of caramel for an Instagram-worthy look.
Step 6: Store It Right
If you’re not using the frosting immediately, you can:
- Store it in an airtight container in the fridge for up to 1 week.
- Let it come to room temperature before re-whipping to restore its fluffiness.
- Freeze for up to 3 months — just thaw and rewhip before use.
Final Thoughts
Perfect cupcake frosting doesn’t require professional training — just a few simple tricks and a bit of patience. Once you master the basics, you can play with colors, flavors, and textures to suit any occasion.
So go ahead — grab that mixer, whip up a batch, and frost like a pro!
Save this recipe for later and pin it for your next baking day!

Leave a Reply