
There’s nothing more satisfying than frosting a cake with a buttercream so smooth it glides like silk — and doesn’t leave your kitchen looking like a sugar-coated battlefield. Whether you’re baking for a celebration or just want that perfect swirl on your cupcakes, learning how to make silky buttercream without a mess is easier than you think.
Step 1: Gather Your Ingredients the Smart Way
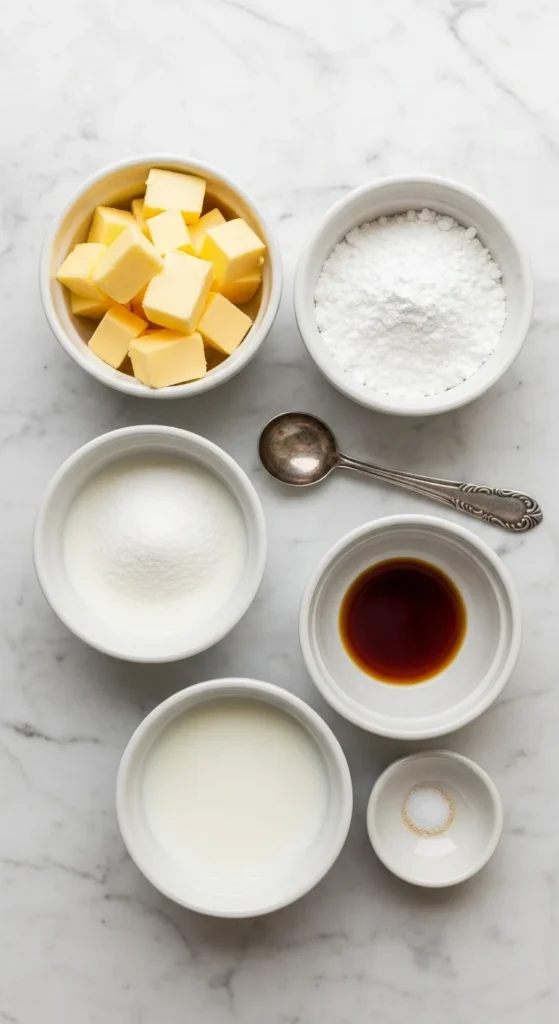
Before you even plug in the mixer, set yourself up for success by organizing your workspace. A neat setup means less mess — and smoother frosting.
You’ll need:
- 1 cup (2 sticks) unsalted butter, softened to room temperature
- 3–4 cups powdered sugar, sifted
- 2 tablespoons heavy cream or milk
- 1 teaspoon pure vanilla extract
- A pinch of salt
💡 Pro tip: Use a large mixing bowl to prevent powdered sugar from flying everywhere. A splash guard or a clean kitchen towel draped over the mixer bowl can work wonders for containing the sugar cloud.
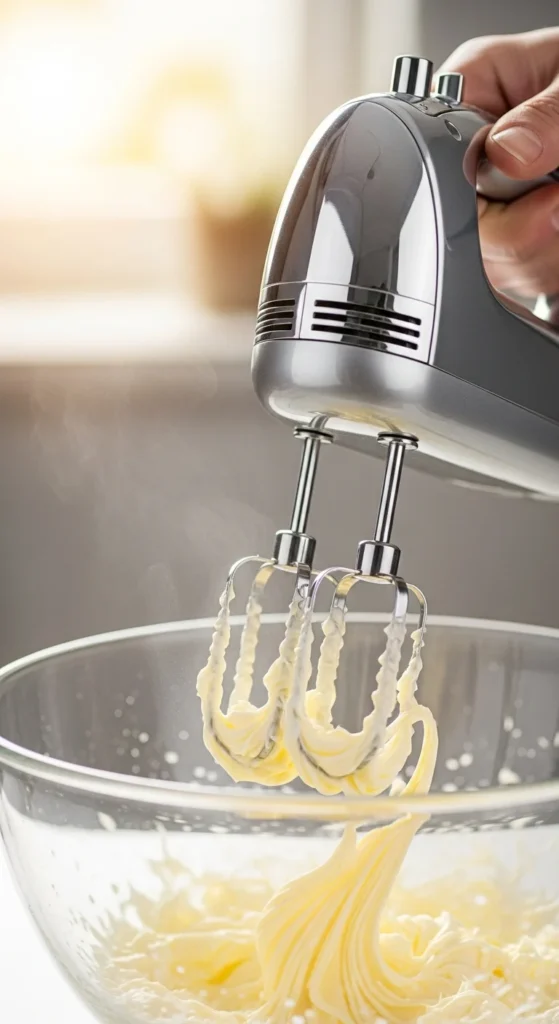
Step 2: Whip the Butter Until It’s Fluffy
Start by beating your softened butter on medium-high speed for 3–5 minutes. This step is key — it makes your buttercream light, airy, and perfectly spreadable.
You’ll know it’s ready when the butter turns pale, creamy, and visibly increases in volume.
💬 Think of this as your frosting foundation — smooth butter equals silky buttercream.
Step 3: Add Powdered Sugar Slowly (No Sugar Storms!)
Instead of dumping in all the sugar at once, add it one cup at a time, mixing on low speed to start. This trick keeps the sugar from poofing into a mini blizzard around your kitchen.
After each addition, increase the speed for a few seconds to fully blend it before adding the next. Continue until your buttercream is thick and smooth.
If it looks too stiff, don’t panic — you’ll fix that in the next step.
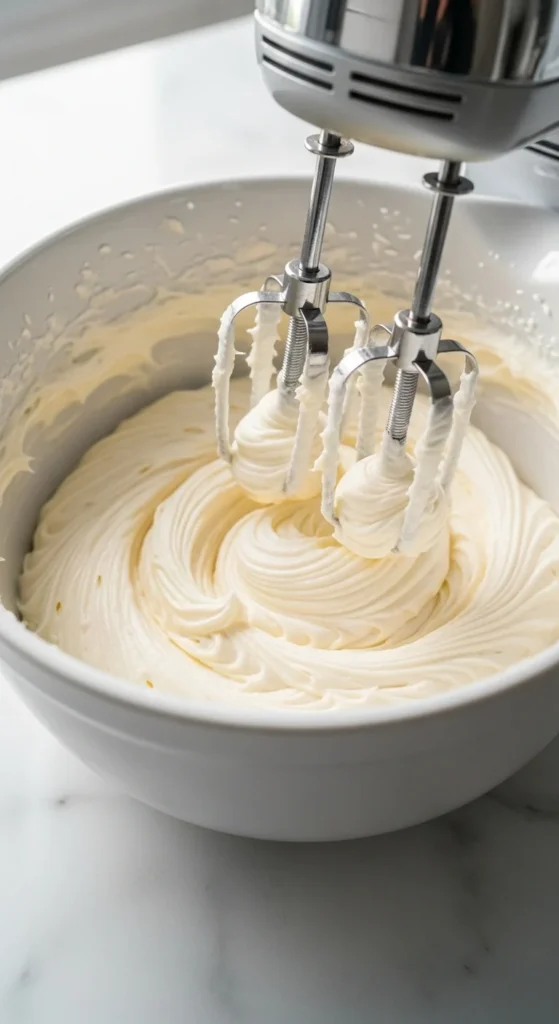
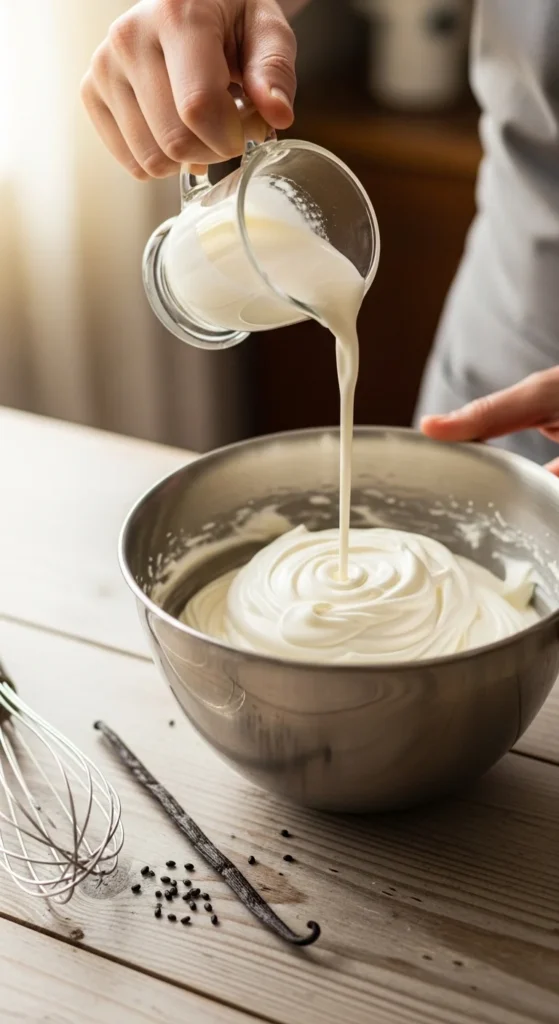
Step 4: Add Cream, Vanilla, and Salt for Silky Perfection
Pour in your heavy cream, vanilla extract, and a pinch of salt. Then beat on medium-high speed for another 2–3 minutes until everything becomes glossy, smooth, and dreamy.
This is where the magic happens — the cream adds that silky texture, while the vanilla and salt balance the sweetness.
💡 Optional flavor twists:
- Add a spoonful of cocoa powder for chocolate buttercream.
- Mix in espresso for a coffee kick.
- Try a drop of almond or lemon extract for a unique flavor.
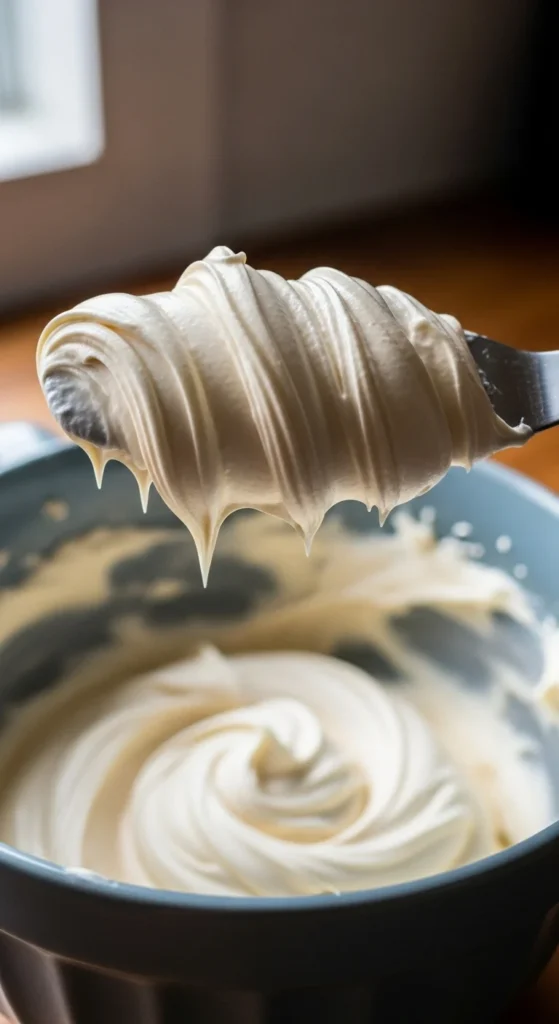
Step 5: Check the Consistency
Your buttercream should be soft, silky, and hold its shape without being greasy or runny.
If it’s too thick, add a teaspoon of milk or cream at a time.
If it’s too thin, add a tablespoon of powdered sugar until it’s just right.
You’ll know it’s perfect when you can swirl it easily with a spatula and it looks glossy and smooth — not grainy.
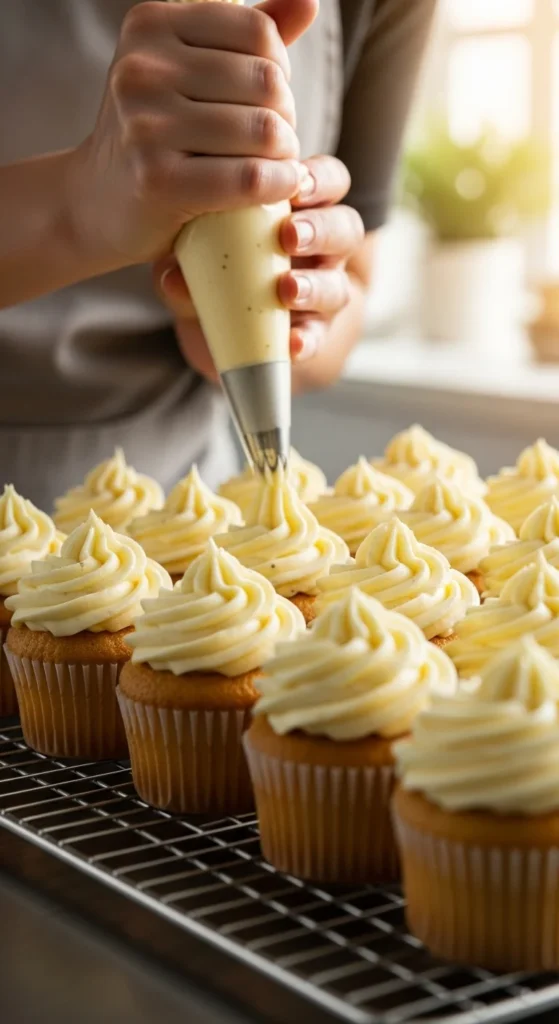
Step 6: Keep It Clean While You Frost
Here’s how to frost like a pro without turning your counter into chaos:
- Place your cake or cupcakes on a turntable or large plate.
- Use a piping bag fitted with your favorite tip instead of spooning frosting directly — less mess, more control.
- Keep a damp towel nearby for quick cleanups.
- Work slowly and enjoy the process — this is your artistic moment!
Final Touch: Store It Right
If you’re not using your buttercream immediately, store it in an airtight container at room temperature for up to 2 days, or in the fridge for up to a week.
When ready to use, bring it back to room temperature and give it a quick whip to restore its silky texture.
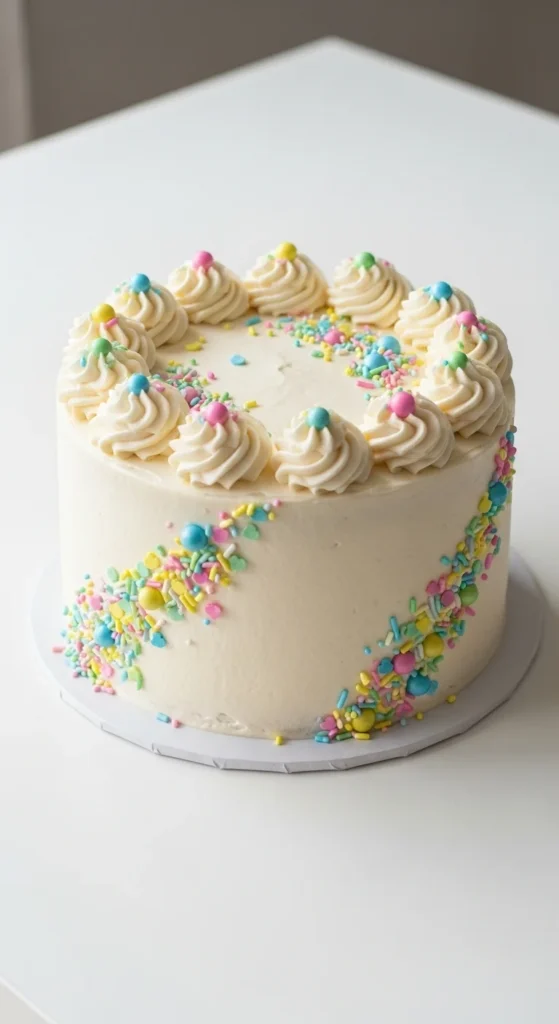
The Sweet Takeaway
Making silky buttercream frosting doesn’t have to be messy or intimidating. With a little prep, slow mixing, and a few pro tricks, you’ll have a luscious, fluffy frosting that spreads like a dream — without covering yourself (or your kitchen) in sugar dust.
So, next time you bake, go ahead and make that buttercream magic happen — and don’t forget to save this recipe for later! 🎂💛

Leave a Reply